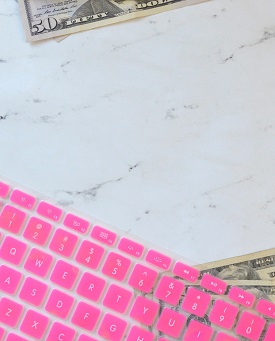
You’ve got those super cute pink keycaps on your keyboard, but now you’re thinking, “What if they could glow in the dark and make my setup even cooler?” Well, you’re in luck because we’re about to show you how to give your pink keycaps that extra “wow” factor.
Stuff You’ll Need
Before you start your glow-up project, make sure you’ve prepared the following items:
Glow-in-the-Dark Powder
Get yourself some top-notch glow-in-the-dark powder. You can pick pink or white for that magical glow.
Clear Resin
You’ll need clear resin to mix with glow powder. Make sure it’s the kind that dries all transparent-like.
Blank Keycaps
Your cute pink keycaps are perfect for this. There is no need to buy anything new.
Mixing Gear
Grab disposable cups and sticks for stirring your resin mix.
Mold Release Spray
To keep your keycaps from sticking to the mold, use some mold release spray. Make sure it works with your mold.
Safety Stuff
Don’t forget safety goggles, gloves, and a well-ventilated spot to work in. Safety first, folks!
How to Make Those Keycaps Glow
In this part,we will talk about the steps to make cute keycaps glow.
Get your workspace ready
Find a clean, airy place to work and cover it up with plastic or a drop cloth. This will catch any drips and spills.
Mix up the resin
Follow the instructions on your clear resin label to mix it just right. Usually, it’s a combo of resin and hardener in a cup, stirred up really well.
Add glow powder
Stir that glow-in-the-dark powder into your clear resin. The more you add, the brighter it’ll glow. Mix it up until it’s all even.
Prep the mold
Spray your silicone mold with that mold releases spray, so your keycaps slide out like a breeze.
Pour in the resin mix
Carefully pour your glow-in-the-dark resin mix into the mold slots, filling them up to the tippy-top. Give the mold a little tap on your work surface to get rid of any air bubbles.
Stick in the keycap
While the resin is still wet, pop the stem of your blank keycap into the middle of each mold slot. Make sure it’s centered and goes all the way down.
Let it set
Follow the curing time on your clear resin’s label. It usually takes 24–48 hours for it to fully set. Keep the mold in a clean, dry spot during this time.
Pop them Out
When your keycaps are all set, gently flex that silicone mold to release your new glowing keycaps. They should come out with ease.
Smooth Things Down
Use some fine-grit sandpaper or a rotary tool to smooth out any rough bits and make sure your keycaps fit just right on your keyboard.
Charge up the glow
To make your keycaps light up in the dark, expose them to natural or artificial light for a few minutes. Then, switch off the lights and watch them shine!
Conclusion
Boom! You’ve just taken your cute pink keycaps to a whole new level with that mesmerizing glow. Whether you’re typing in the dark or just want to make your keyboard stand out, your custom keycaps are going to turn heads and make your setup totally unique. Enjoy your new glowing typing adventures!